Health States[]
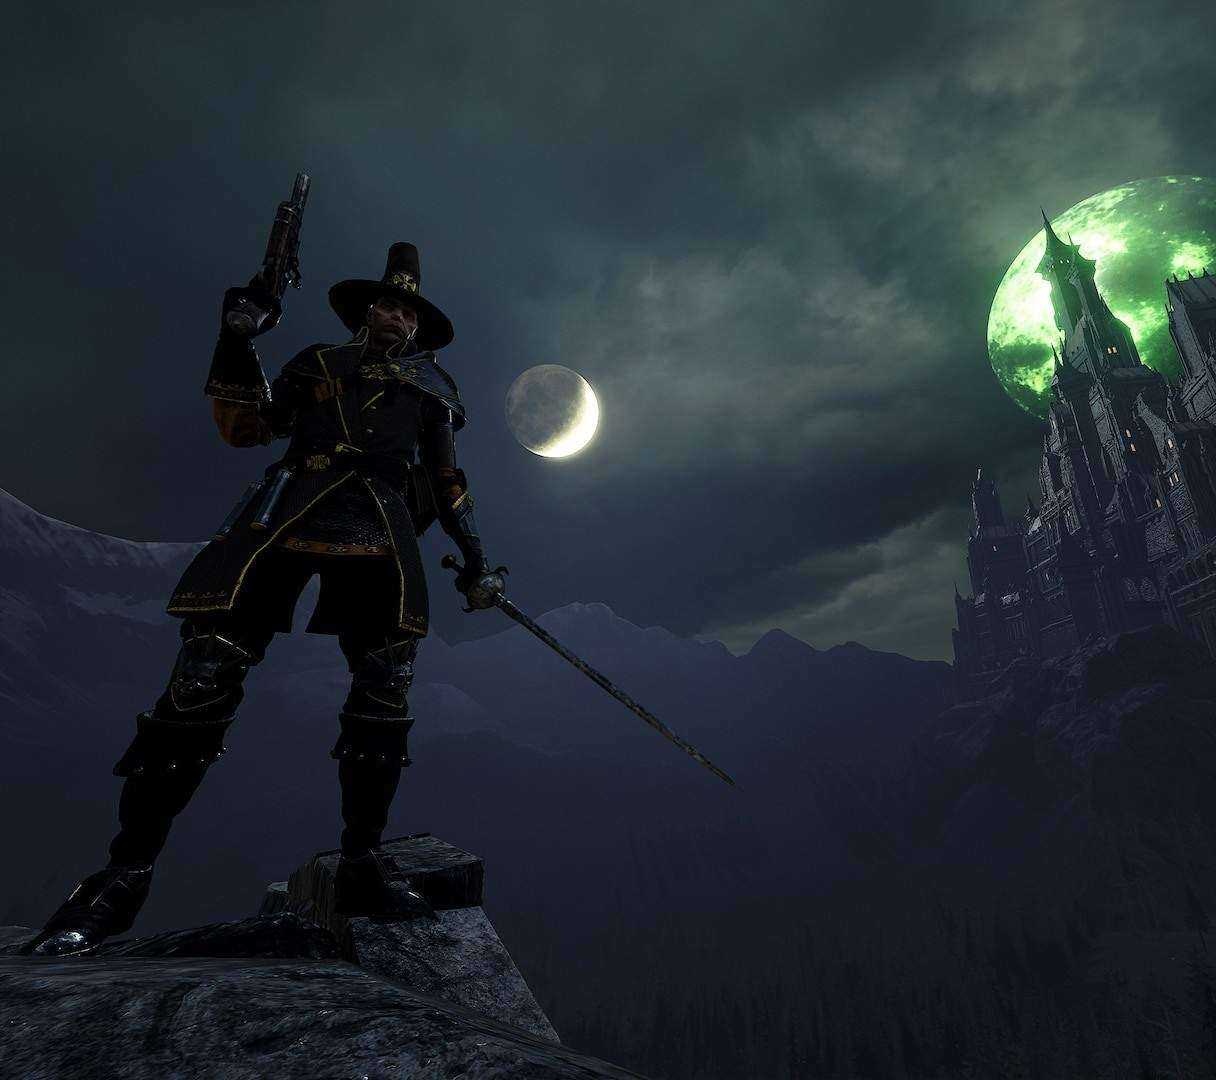
A knocked down Witch Hunter Captain
Knocked Down
Also known as Prone or Downed, if a hero’s HP is reduced to 0, they will become knocked down and receive a wound. While knocked down, the hero cannot take any action, and their HP pool increases to 300 (which can be further boosted by properties and talents as normal). The hero can still be damaged normally and passively receives 10 points of damage every 3 seconds. This health is technically considered to be THP, so any source of temp health recovery from allies such as Mercenary’s Career Ability will still be effective. When this health bar reaches 0, the hero dies.
Revive
Allies can revive a character who is knocked down by holding «E» (by default) for 2 seconds. This duration can be reduced with the Revive Speed Trinket property. While reviving, the reviver is automatically considered to be Blocking if they have their melee weapon equipped, and most careers are still able to cast their Career Ability without interruption. The exceptions to this are Ranger Veteran, Waystalker, Bounty Hunter, and Pyromancer. A successful revive only requires the reviver to be within the downed player’s vicinity at the very start of the revive, so moving away from the downed player using a mobility career ability will not interrupt it. This also means that if a hero is downed on a ledge above an ally, the ally can jump to start the revive and continue even after landing.
Wound
The hero starts every mission with 0 wounds. If a hero is revived from being knocked down, they will resume play after a short get-up animation with half of their health bar filled with temporary health and 1 additional wound. During the get-up animation, the hero can switch weapons and block. If the hero accumulates a certain number of wounds, they will immediately die upon their HP reaching 0 instead of becoming knocked down. Each difficulty level has a set number of wounds before this occurs:
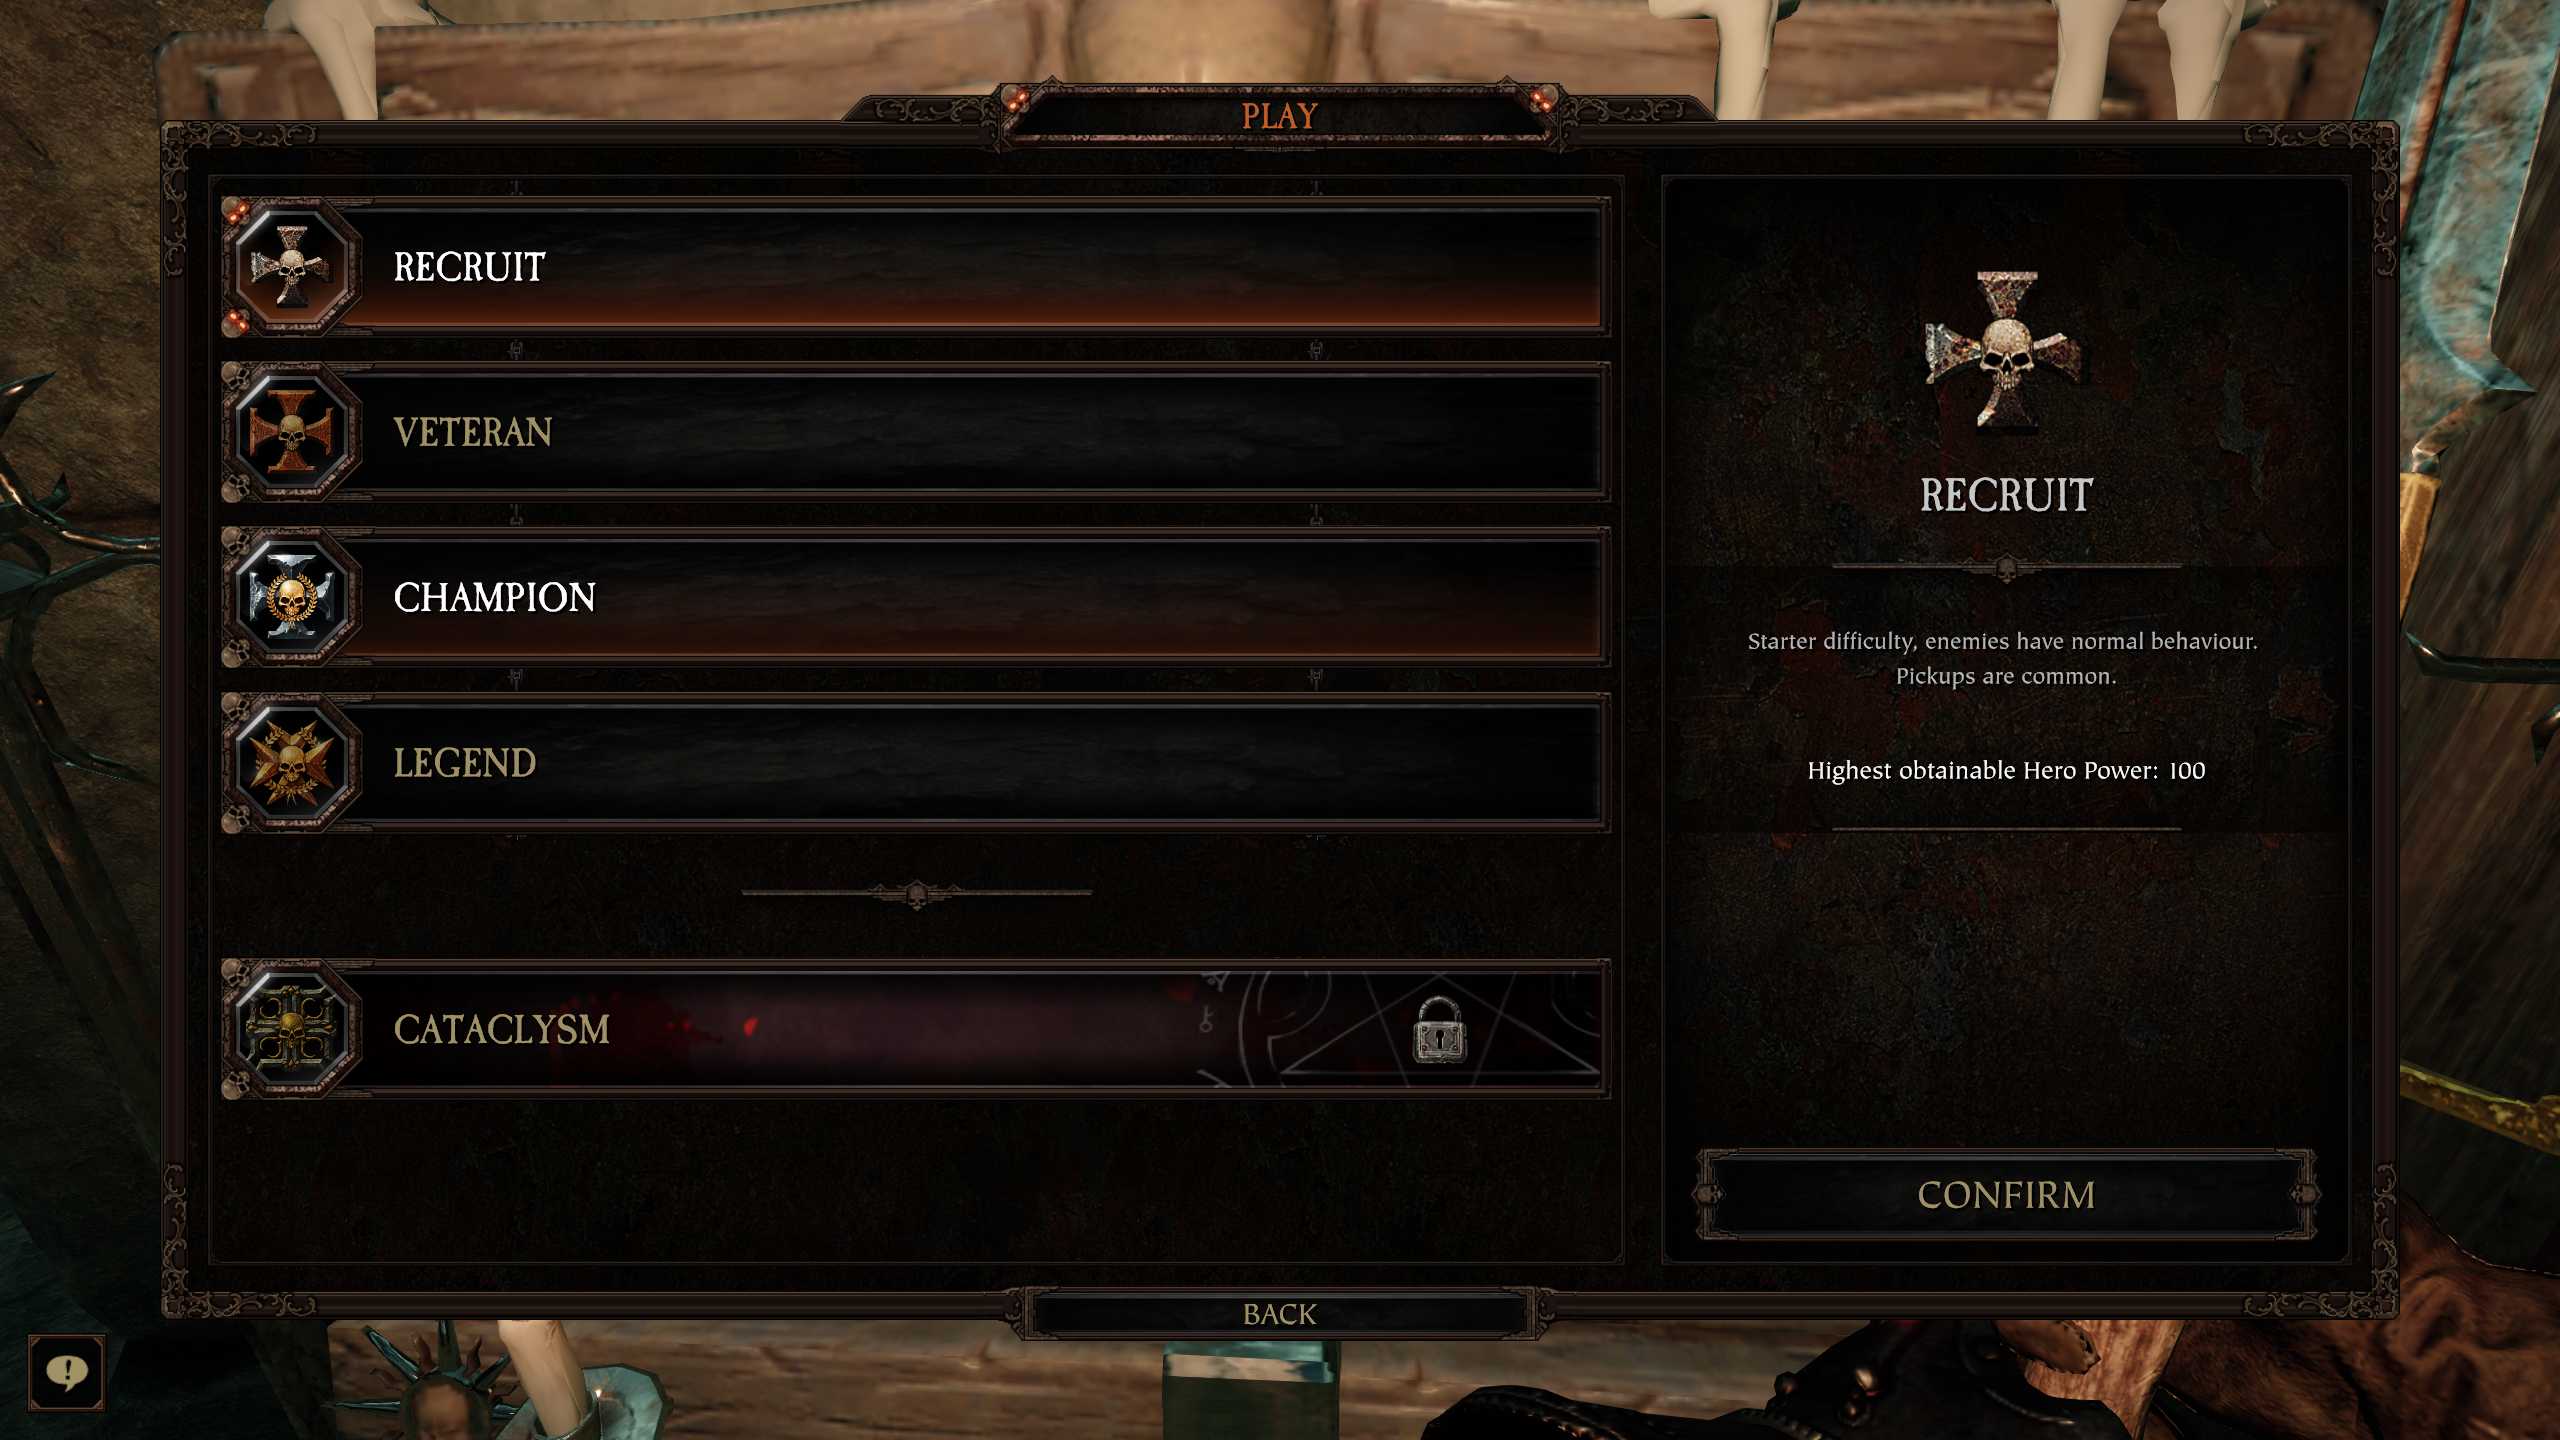
- Recruit: 4
- Veteran: 2
- Champion and above: 1
Using any healing item or getting healed by an ally will set the wounds count back to 0. While wounded, the rate at which temporary health decays is reduced to half.
Disabled
If a hero is caught by certain specials, they will become Disabled. While disabled, the hero cannot take action and receives damage as normal. If the source of the disable is a Blightstorm, the hero will be automatically freed after being tossed out. Otherwise, they must be freed by staggering or killing the disabler. Additionally, there are other unique types of disables:
- Cliff Hanging: When a hero goes over certain ledges, they will hang off of the ledge in a disabled state. An ally can help a cliff hanging hero by holding the revive button. If unassisted, the hero will fall to their death after a certain period of time.
- Hoisted: If a Hookrat catches a hero and drags them away far enough, the hookrat will plant its hook into the ground and hoist the hero up. An ally can free a hoisted hero by holding the revive button. If the hero was knocked down while hoisted, the hero will then have to be revived as well.
A bound Handmaiden awaiting rescue
A Dead character is completely taken out of play and all of their items are dropped to the floor. Any grimoires that player was carrying will be destroyed. The hero will respawn after 30 seconds, typically further ahead in the mission. This duration can be reduced with the Respawn Speed trinket property. After respawning, the hero will be in a Bound state with half of their HP filled with permanent health, half of their maximum ammunition, 0 wounds, and 0 career ability cooldown. While bound, the hero cannot take any action, and enemies will not interact with them. However, their career ability cooldown still receives its normal passive regeneration. The hero must be freed by an ally in order for the player to regain control of their hero. The speed at which an ally can free a bound hero is not affected by the Revive Speed trinket property.
Вступление
Все пытались определить на манекене в крепости, какой урон наносят в игровую секунду (за один тик), хотя тестирование вряд ли проводилось для каждого варианта атаки. Но следует знать, что даже при одинаковом уроне на тик и одинаковой частоте тиков могут быть разные значения DPS. Чтобы получить более точные данные, были протестированы все атаки с применением DoT (отложенный урон в течение времени) и записаны соответствующие им показатели DPS.
Такая информация может быть полезна, когда игрок сталкивается с Монстром и Ордой одновременно. По результатам теста можно увидеть, какой вариант DoT будет эффективнее в сражении с Монстром.
Тест был проведен на Легендарном уровне сложности во время удержания Тролля хаоса. Использование мода Спавна существ (Creature Spawner) с отключенным AI делает Тролля хаоса неуязвимым. А благодаря моду UI Tweaks, позволяющему отслеживать временные DPS как баффы, цифры округляются!
На тестирование каждой атаки были отведены примерно одинаковые, хотя и не совсем точно, промежутки времени: примерно 5 минут на каждый тест, но обычно даже дольше, чем 5 минут.
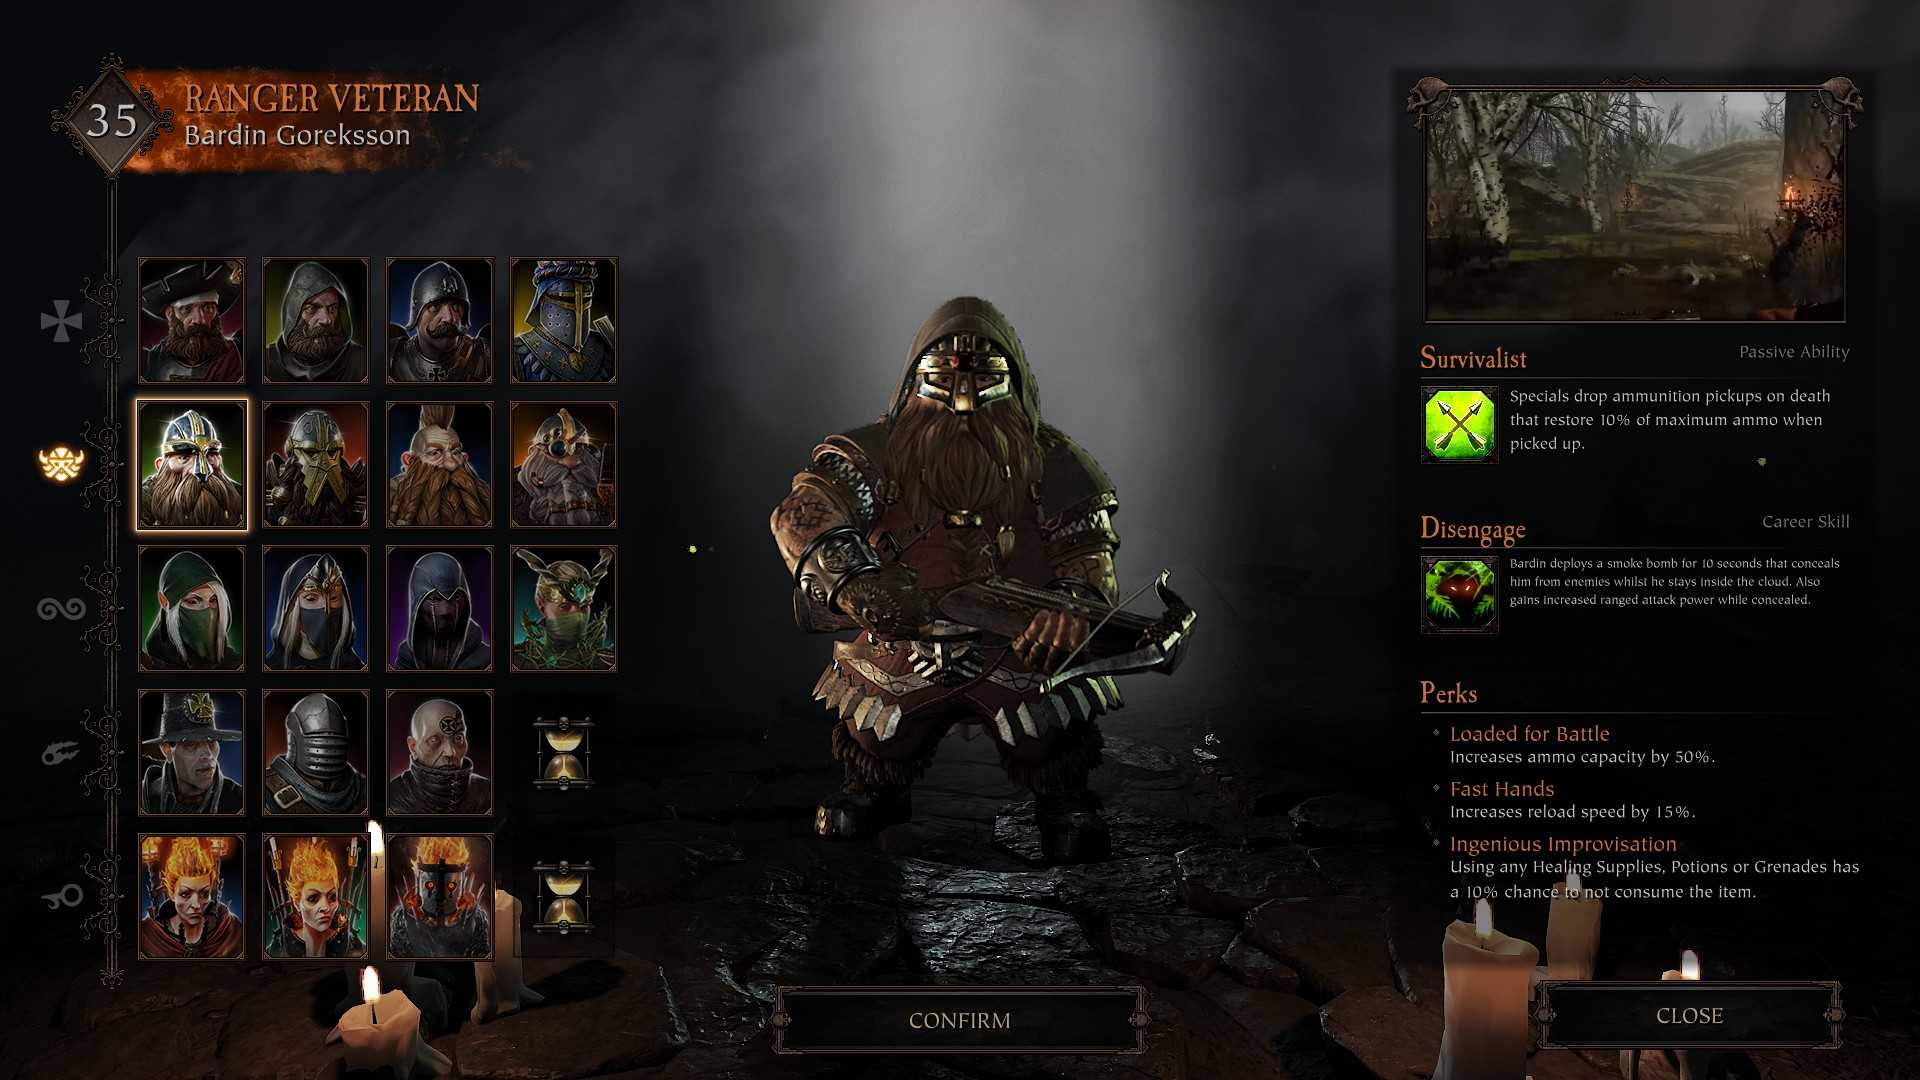
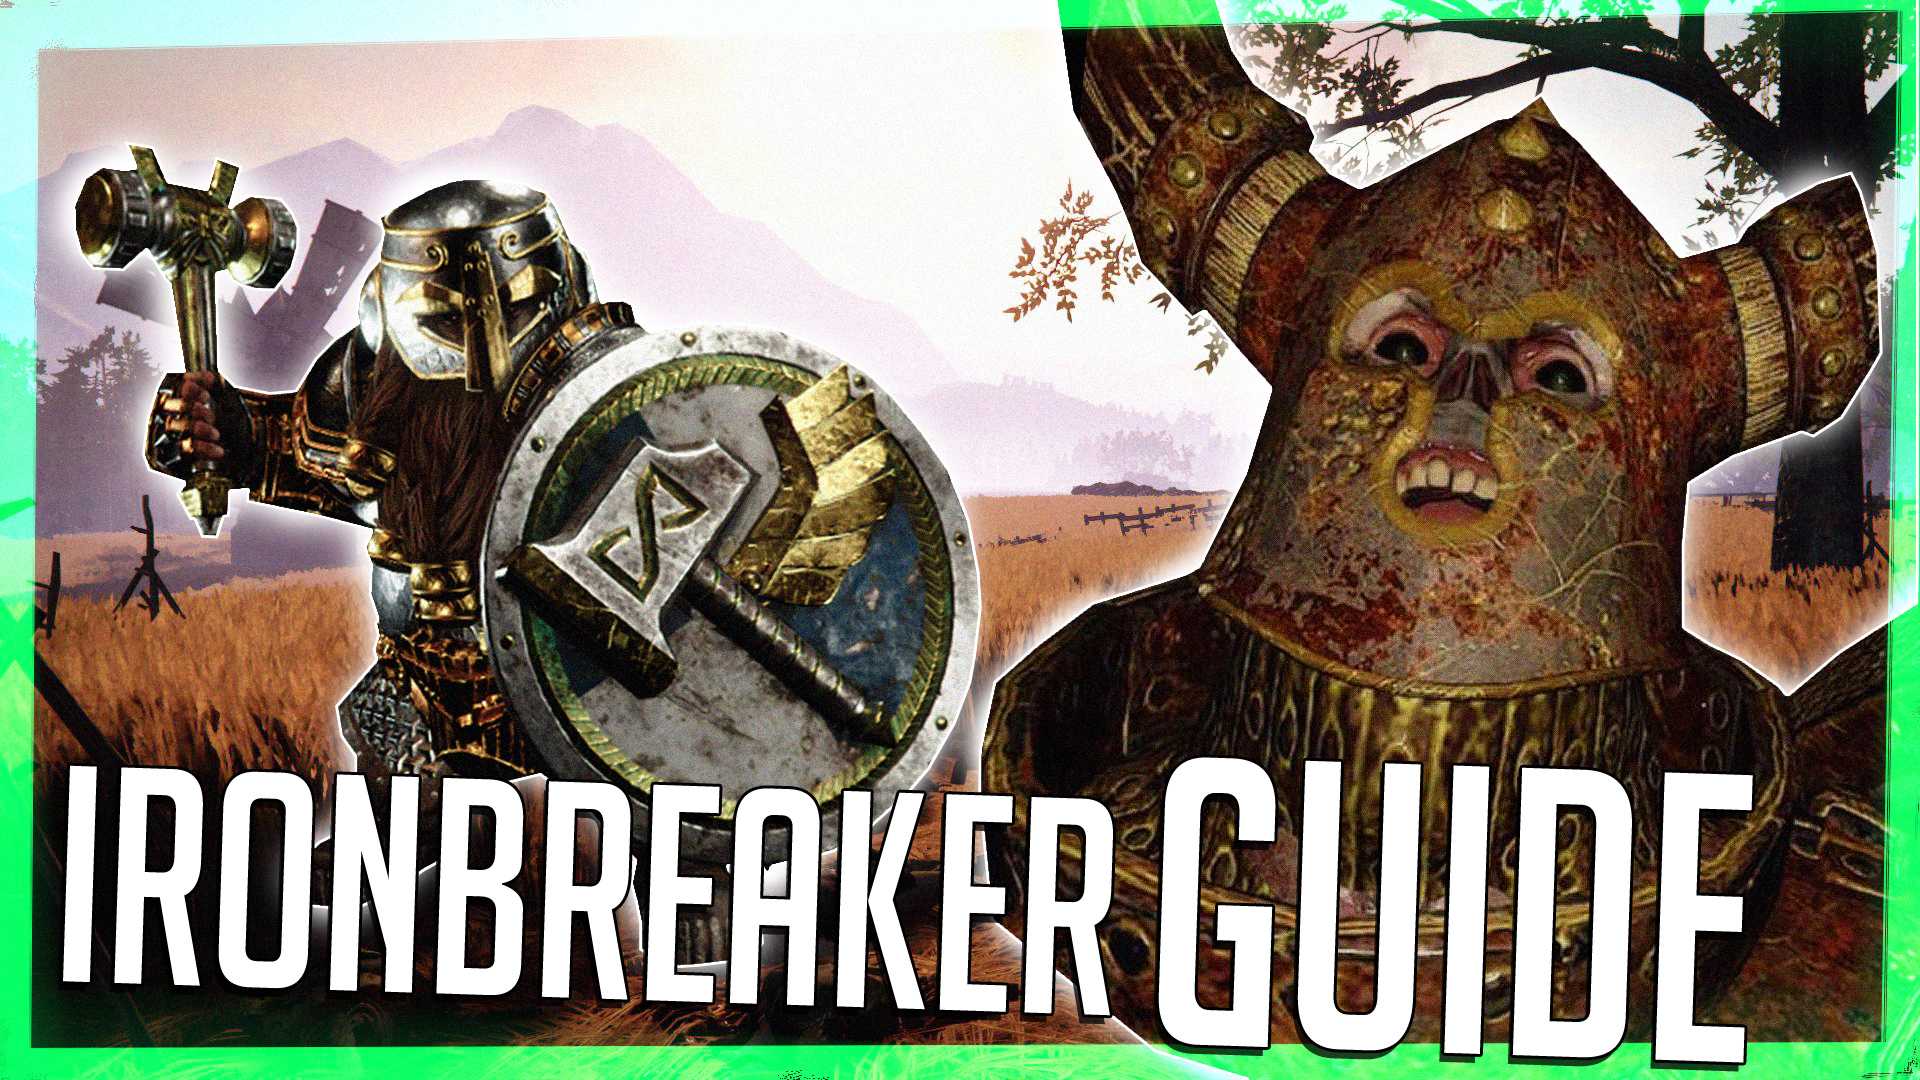
3 Ironbreaker
The Ironbreaker is the traditional tank, and he’s very good at it. On top of the incredible armor he can wear is a lot of damage resistance and the ever-powerful stun resistance. He even has the ability to shrug off any attack once every 20 seconds.
The key to Ironbreaker is drawing foes in, using abilities, and laughing as they try to do any kind of meaningful damage before they die. The Ironbreaker career is available after level seven. It comes after Ranger Veteran. Ironbreaker loses the ranged capabilities of Ranger Veteran and becomes a brutal tank. The key to this career is to grab the enemies’ attention and keep it on Bardin.
Basics
As a beginner you’ll probably play on recruit until you feel ready for higher difficulty well here are some handy tips
–In hordes make sure you block and push as to avoid being surrounded trust me being surrounded by a horde on legend is no fun for anyone
–Don’t go speeding ahead of everyone or trying to get the most kills because it wont help you or your team instead stay with your team you have better odds of surviving if you get snatched up in a horde or just snatched up in general
–Make sure you communicate with your team to use chat press Y or Enter
–You can mark things by looking at them and pressing T
–You probably already saw crafting in your inventory just leave that stuff alone until you’re higher level,since early on you wont need to craft

General Information[]
Factions
Factions are race divisions of enemies and consists of Skaven, Chaos, and Beastmen. All base game enemies belong to either The Rotblood Tribe (often simply called «Chaos») or the Skaven. Beastmen were added into the game with the Winds of Magic DLC.
There are equipment Properties that affect factions. ‘Power vs. Skaven’ and ‘Damage Reduction vs. Skaven’ are effective against all Skaven. ‘Power vs. Chaos’ and ‘Damage Reduction vs. Chaos’ are effective against both Beastmen and Rotbloods.
Hit Points
Enemies have set hit points based on the game Difficulty. Every enemy has their own hit point value, which can be found on their individual page.
Stagger resistance
Enemies have a stagger resistance stat based on the game difficulty. This value determines whether an enemy is Staggered when hit by a certain attack. Stronger enemies generally have a higher stagger resistance.
Mass
Enemies have a mass stat based on the game difficulty. Mass determines the amount of bodies a weapon is able to Cleave before stopping in its swing.
Patrols
Patrols are large groups of Elites and Horde enemies which march around set paths on Missions. If a Hero gets too close to a patrol or Attacks them, they will onto the offending hero; additionally, if their only target(s) die or are invisible they will go back to patrolling. Patrols can easily be avoided by staying away from their pathing.This strategy becomes more viable on higher difficulties as the number of elites per patrol increases.
Combat Basics
Combat, both melee and ranged, is the backbone of the game.Below are the most important basic elements
Melee Attacking
- Perform light attacks by CLICKING L-MOUSE
- Perform heavy attacks by HOLDING L-MOUSE
- Each melee weapon has a distinct pattern of light and heavy attacks. If you keep attacking with light or heavy attacks, you will cycle through these attack patterns.
- As you get more experienced, you’ll learn which attack patterns can be chained together (often switching between heavy and light attacks) to best deal with the types of enemies you are fighting against.
Blocking & Stamina
- HOLDING R-MOUSE will bring up your guard/blocks.
- While blocking, you’ll see a number of yellow SHIELDS below your crosshair, which indicates how much STAMINA you have.
- Stamina is depleted when you make a block, but will regenerate fairly quickly on its own so long as you don’t get hit again too soon.
- Blocking will work in a 360-degree angle. However, blocking outside of your weapon’s primary blocking arc (which depends on the weapon), costs double stamina typically.
Pushes & Push Attacks
- While blocking, if you CLICK L-MOUSE you will perform a PUSH.
- Push: Shoves enemies back and usually staggers them a bit.
- Pushing consumes stamina, so you can’t push indefinitely. Pushing also delays stamina regeneration for a little bit.
- PUSH-ATTACK: While blocking, if you CLICK + HOLD L-MOUSE, you will perform a PUSH and then immediately follow up with a special attack. This «push-attack” combo can be useful for dealing with shielded enemies or dense hordes.
Staggering & Cleaving
- When enemies are hit (depending on the strength of the weapon) or pushed, they will get STAGGERED.
- Staggered enemies take an additional 20% damage when attacked.
- If an enemy is staggered again while already staggered, they will take 40% more damage when attacked.
- On higher difficulty levels, staggering enemies is important to being able to deal with large numbers quickly (e.g. during a Horde).
- CLEAVE refers to a weapon’s ability to slice through multiple enemies in one swing. Bigger, heavier weapons generally have more cleave strength.
Dodging
- Dodging is an essential skill to learn in order to avoid damage — especially big heavy attacks from stronger enemies.
- You can dodge to the side or backwards. Hold the dodge key and click the movement key in the direction you want to dodge.
- Dodges have to be well timed, relative to the attacker’s swing, in order to successfully dodge and not have the attacker «track you” (i.e. adjusting their swing early) to still hit you.
- Your selected weapon affects the distance of your dodge (lighter weapons allow for a longer distance dodge) as well as how many «full” dodges you can make before you get winded and your dodges slow down. Typically this is 3-6 dodges.
The «Whoosh”
- The MOST IMPORTANT thing you’ll learn to avoid damage is the «Woosh.”
- Listen for a quick «Whoosh” sound effect (sounds like a compressed air can). This sound means that an enemy outside of your field of view is about to attack you.
- If you hear the sound, immediately HOLD BLOCK and also DODGE (if you can). You’ll have a good chance of avoiding or blocking the damage.
Ranged Attacks
- Most ranged weapons consume ammo. Ammo is fairly limited, especially on higher difficulties, so don’t fire needlessly.
- Some weapons, like the wizard’s staff or dwarven fire weapons, generate HEAT instead of using ammo. If the heat gets too high, you’ll explode. Heat dissipates on its own, or it can be vented more quickly by holding the reload key, but you’ll take a little damage in the process.
- Ranged attacks are particularly useful for dealing with dangerous «special” enemies (more on that below).
Putting It All Together
The real joy in Vermintide (IMHO), comes from putting all of the above together. It’s timing patterns of attacks carefully to deal with the exact mix of enemies you’re facing, while dodging, blocking, and pushing in a little «dance” to avoid taking damage. Through all of this, you’ll need to be mindful of your positioning and work with your team to watch each other’s backs. It’s a lot of fun.

![Warhammer: vermintide 2 true solo tier list [2023 update]](https://wg-mods.ru/wp-content/uploads/b/c/9/bc9605c4f4c56de4860a08491bb5795c.jpeg)
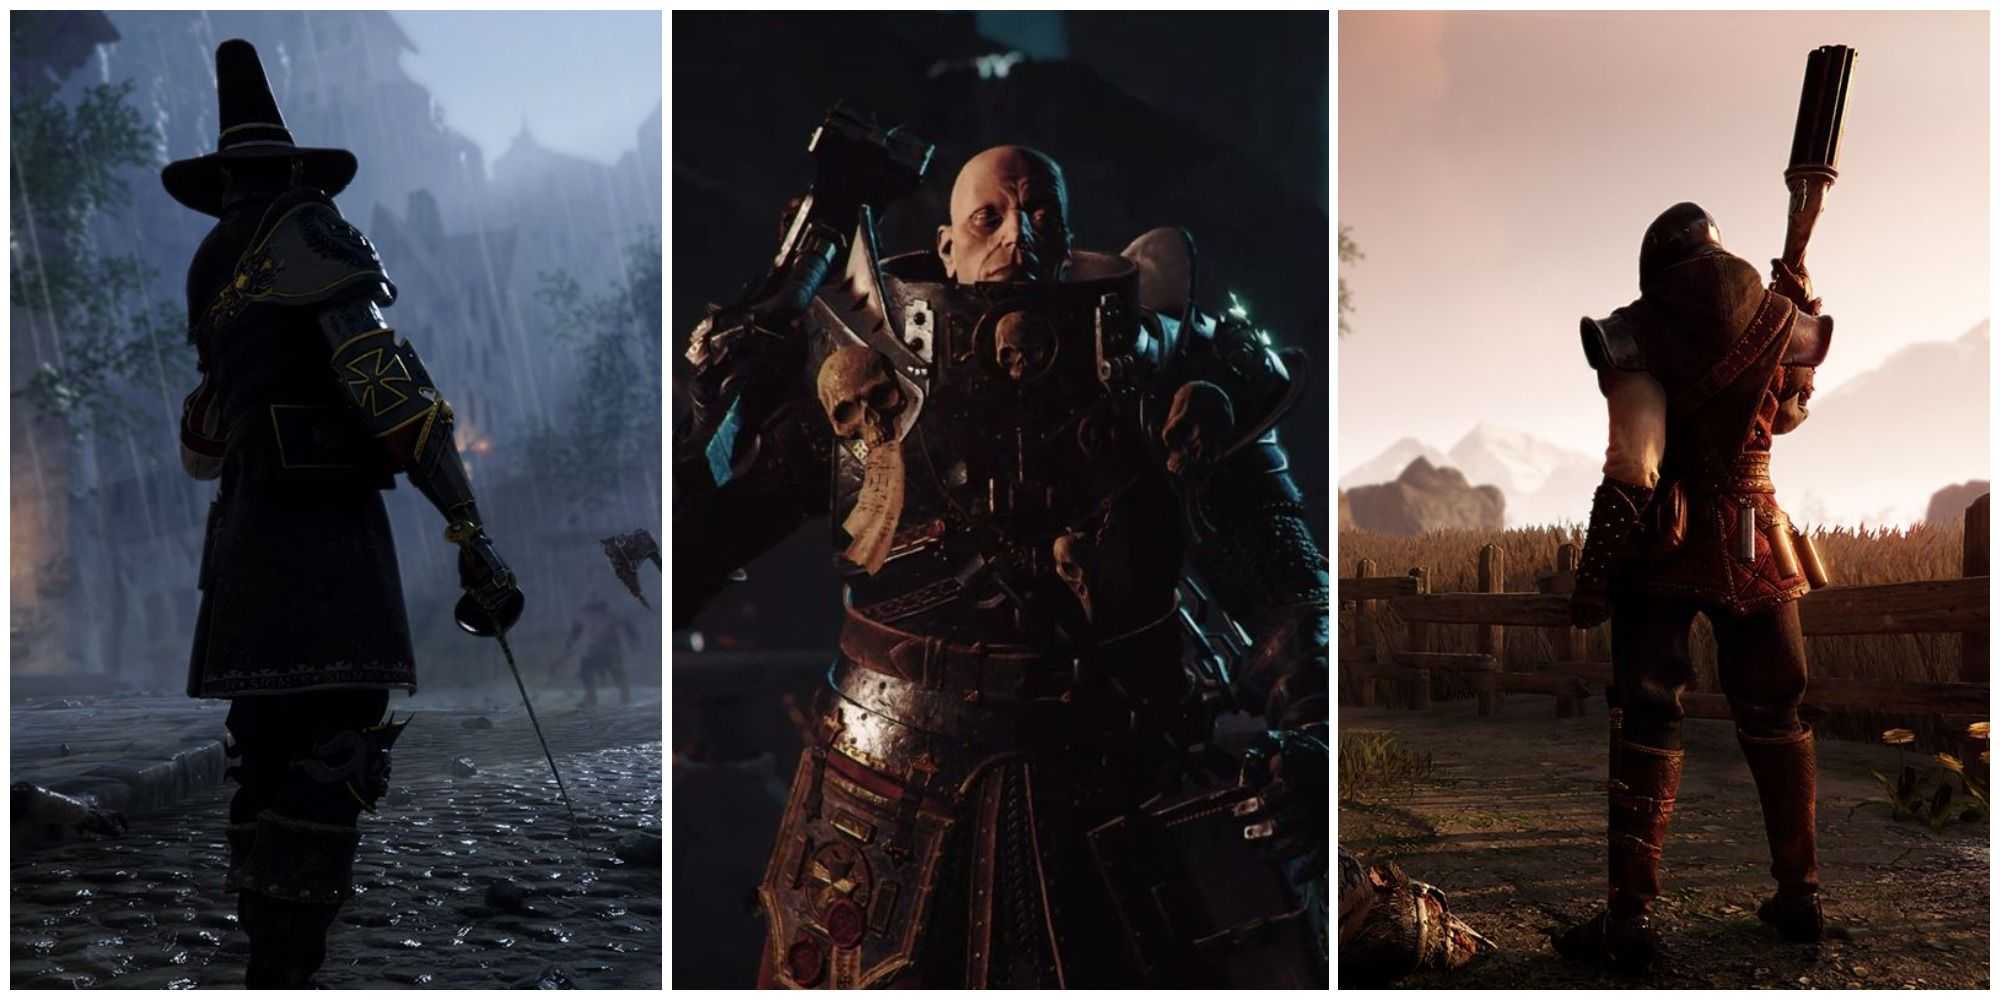
S-Tier
The best classes in the game for True Solo.
| Class | Description |
|---|---|
| Shade | The Shade is absurdly broken. It has extremely powerful damage, coupled with the invisibility that cools down almost instantly. It’s the most forgiving unit to play because you basically have infinite chances to make your invisibility + backstab work. Using its abilities, the Shade can clear wave after wave of elite enemies without breaking a sweat. Seriously, use this class if you want to remove all challenges the game has to offer. We won’t judge you – everyone needs a little unlimited power once in a while. |
| Huntsman | The Huntsman is an excellent class that needs a little mastery (especially with the longbow) to truly shine. He has invisibility as well – extra useful for clearing out elite waves. It’s not as good as the Shade’s nor the Handmaiden’s, but it gets the job done. The Huntsman also has a versatile weapon kit. A blunderbuss is a decent substitute for his bow. His melee weapon options are fantastic as well. |
| Handmaiden | Invisibility is king in True Solo and the Handmaiden has the nearest similar option to the Shade. It has a low cooldown as well. The Handmaiden has impressive melee damage potential especially if you abuse Asrai Alacrity. She’s also a pretty safe character when using the longbow – able to dash into position and snipe enemy waves with ease. |
ИИ-компаньоны в одиночном режиме
ИИ-компаньоны в Warhammer Vermintide 2 обладают базовыми навыками и способностями, которые можно настраивать и улучшать. Они могут выполнять различные роли в команде, от атакующих до поддерживающих. Каждый компаньон имеет уникальные способности и предметы, что позволяет разнообразить геймплей и адаптироваться к разным ситуациям на поле боя.
ИИ-компаньоны в Warhammer Vermintide 2 могут быть полезными во многих ситуациях. Они могут охранять игрока, атаковать противников, лечить и поддерживать команду. Они также могут использовать различные предметы и оружие, чтобы повысить свою эффективность в бою.
Однако, необходимо отметить, что ИИ-компаньоны не могут заменить полноценную команду из реальных игроков. ИИ-компаньоны не обладают такой же тактической осведомленностью и реакцией, как люди. Они могут быть менее эффективными, особенно в сложных ситуациях или при выполнении сложных заданий.
В целом, использование ИИ-компаньонов в одиночном режиме Warhammer Vermintide 2 может быть полезным для игроков, которые предпочитают играть одному или не могут найти других игроков для кооперативного режима. Они могут облегчить прохождение игры и сделать её более доступной для новичков.
Маг в Warhammer: Vermintide 2: основные характеристики персонажа
Маг — один из играбельных персонажей в игре Warhammer: Vermintide 2. Он обладает уникальными способностями и стилем игры. Ниже приведены основные характеристики этого персонажа:
1. Характеристики здоровья и выносливости
У мага в Warhammer: Vermintide 2 низкая выносливость и здоровье. Это значит, что он быстро устает и легко получает повреждения от врагов. Однако, его силой является магия, которая позволяет ему наносить огромный урон противникам и поддерживать союзников.
2. Магия и способности
Маг — это персонаж, специализированный на магических атаках. Он может использовать различные заклинания и способности, такие как огненные шары, ледяные стрелы, электрические разряды и другие. Каждая специализация мага имеет свои уникальные заклинания и способности. Он также может подбирать магические предметы, которые повышают его способности и мощность заклинаний.
3. Специализации мага
В Warhammer: Vermintide 2 у мага есть несколько специализаций, каждая из которых предлагает уникальный стиль игры и набор способностей. Специализации могут быть огненным магом, ледяным магом, разрушителем и другими. Каждая специализация имеет свои преимущества и недостатки, поэтому игроку следует выбирать то, что лучше подходит его стилю игры и роли в команде.
4. Роль в команде
Маг в Warhammer: Vermintide 2 является отличным поддерживающим персонажем. Он может наносить большой урон противникам на дальних дистанциях и ослаблять их с помощью своих заклинаний. Также у мага есть возможность исцелять и поддерживать своих союзников с помощью магических предметов и способностей. Он также может быть полезен при уничтожении больших групп противников и сильных вражеских боссов.
5. Разблокировка новых предметов и улучшение
В Warhammer: Vermintide 2 игроки могут разблокировать новые виды заклинаний, способностей и магических предметов для мага. Это позволяет улучшить его силу и эффективность в бою. Игроки могут получать новые предметы и улучшения путем выполнения заданий, прохождения уровней и сражения с противниками.
6. Советы и тактики
Используйте магические атаки и способности в соответствии с текущей ситуацией
Например, огненные заклинания хорошо подходят для массовых групп врагов, а ледяные заклинания могут замедлить и парализовать сильных противников.
Обращайте внимание на свой запас здоровья и выносливости. Хорошо распределяйте их использование, чтобы сохранить себя в живых и эффективно маневрировать по полю боя.
Сотрудничайте с командой и поддерживайте своих союзников
Используйте заклинания и способности, чтобы исцелять и баффать своих товарищей и создавать преимущество в битве.
Постоянно развивайте своего персонажа, разблокируйте новые заклинания и способности, чтобы быть более мощным и эффективным на поле боя.
Маг в Warhammer: Vermintide 2 — это уникальный и интересный персонаж, который может сделать значимый вклад в командную игру и преодолеть противников с помощью своих магических способностей.
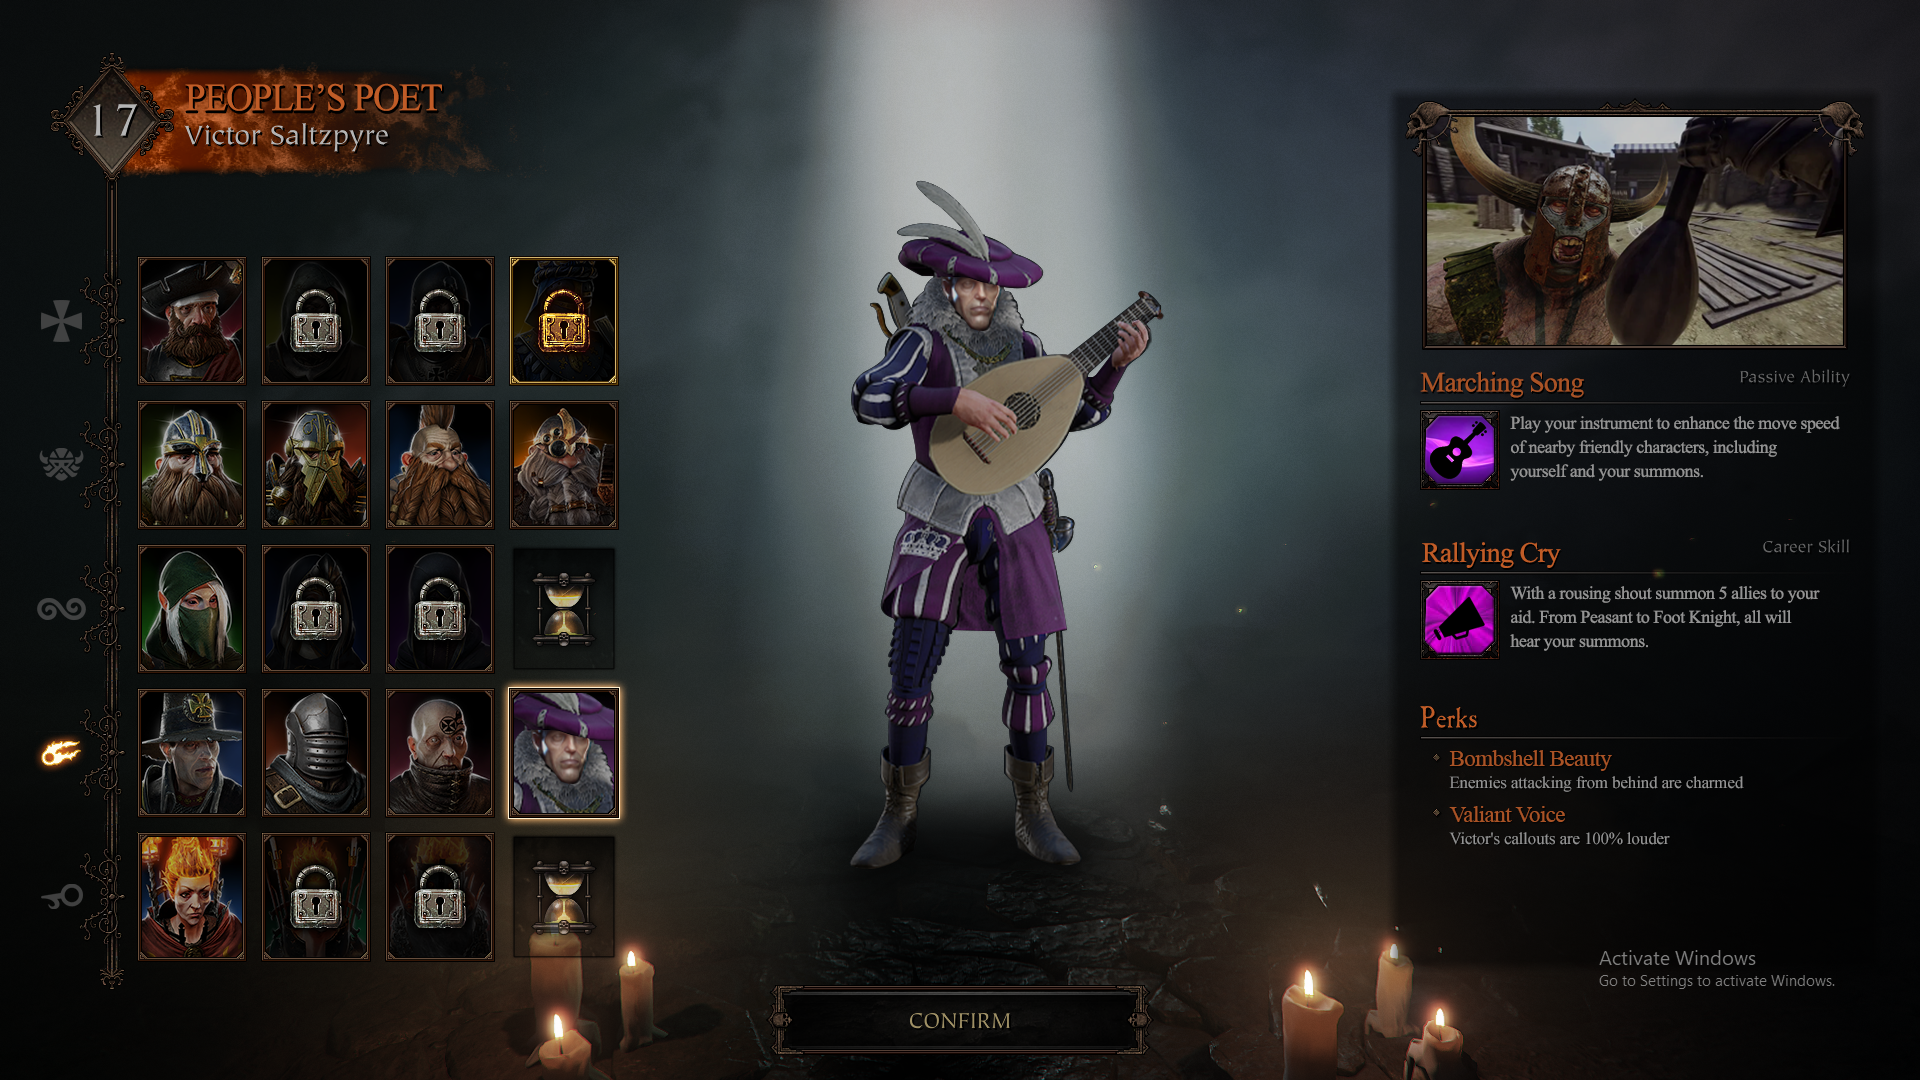
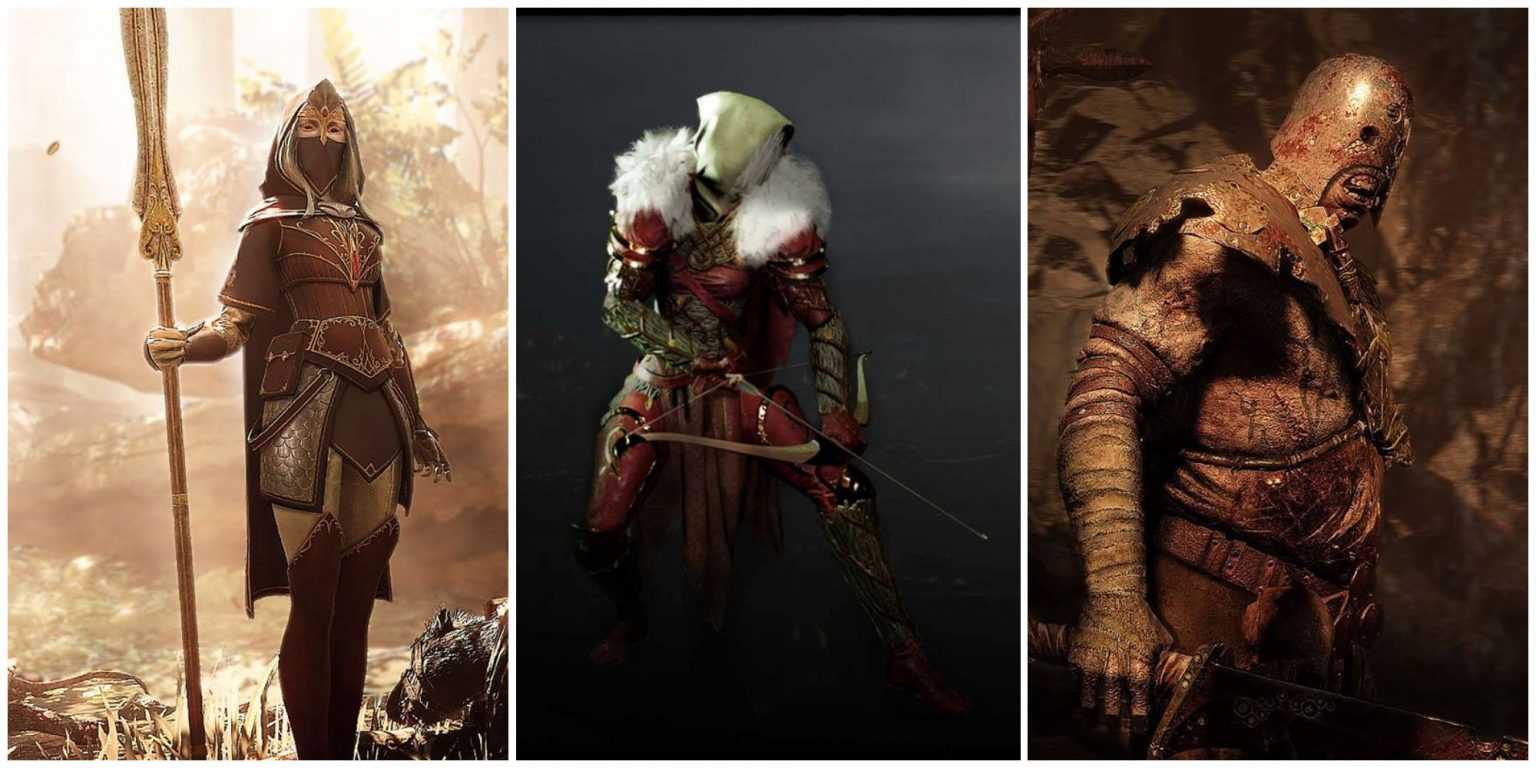
12 Amaranthe’s Regen Is Your Best Friend
Healing items in Vermintide 2 are few and far between, especially on the higher difficulties or Challenge Missions. So Kerillian’s passive healing of 3 health every 10 seconds thanks to Amaranthe is pretty handy as it can keep her alive through even the toughest of runs.
This constantly active ability will keep your health bar topped up at half health after each fight and if you combine it with Rejuvenating Locus it will also regen the health of other party members. This is ideal for keeping everyone fighting fit until the end of your adventure in this popular Warhammer co-op survival game by Fatshark.
Bosses[]
Bosses are the largest, most powerful foes found in the game. They are among the most formidable of foes as their intimidating size coupled with their raw strength and enormous health pools make them dangerous to fight even for the most coordinated of teams. Even with their large health pools, all bosses have . Monsters are seldom alone, often bringing with them a mix of hordes, elites, and specials. Lords will summon underlings to assist them.
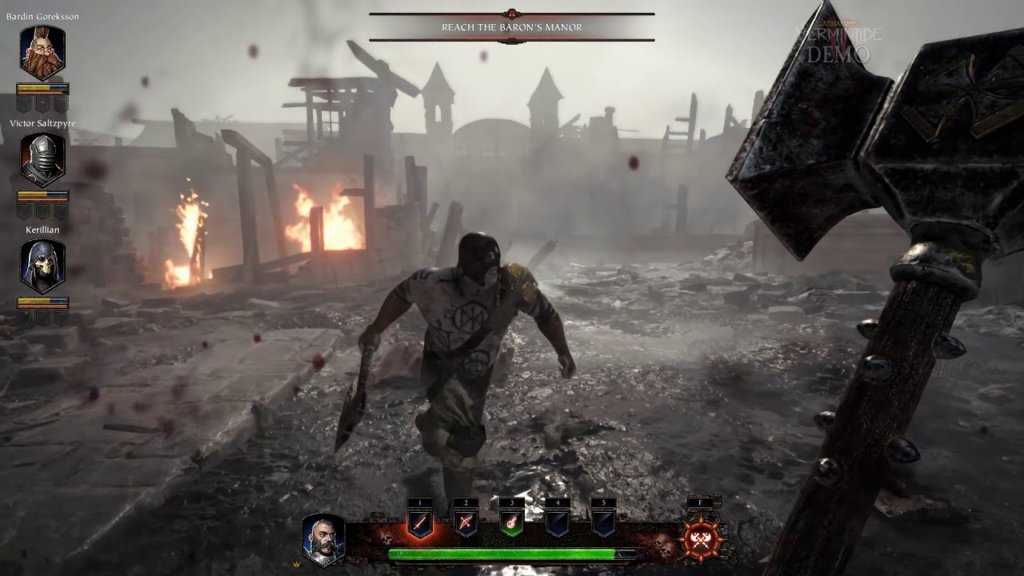
Monsters
Monsters are an enemy type that have a chance to spawn at predefined triggers in the map. Upon hitting a trigger, a monster will rush towards the heroes and a wall of flame or acid will block the hero’s path forward. Players can identify a monster before seeing them through unique boss stingers and music that plays when they spawn. In the base game, all monsters have Monster armour; however, Minotaur which were added in Winds of Magic actually have berserker armour.
Monsters consist of:
- Rat Ogre
- Stormfiend
- Bile Troll
- Chaos Spawn
- Minotaur
Lords
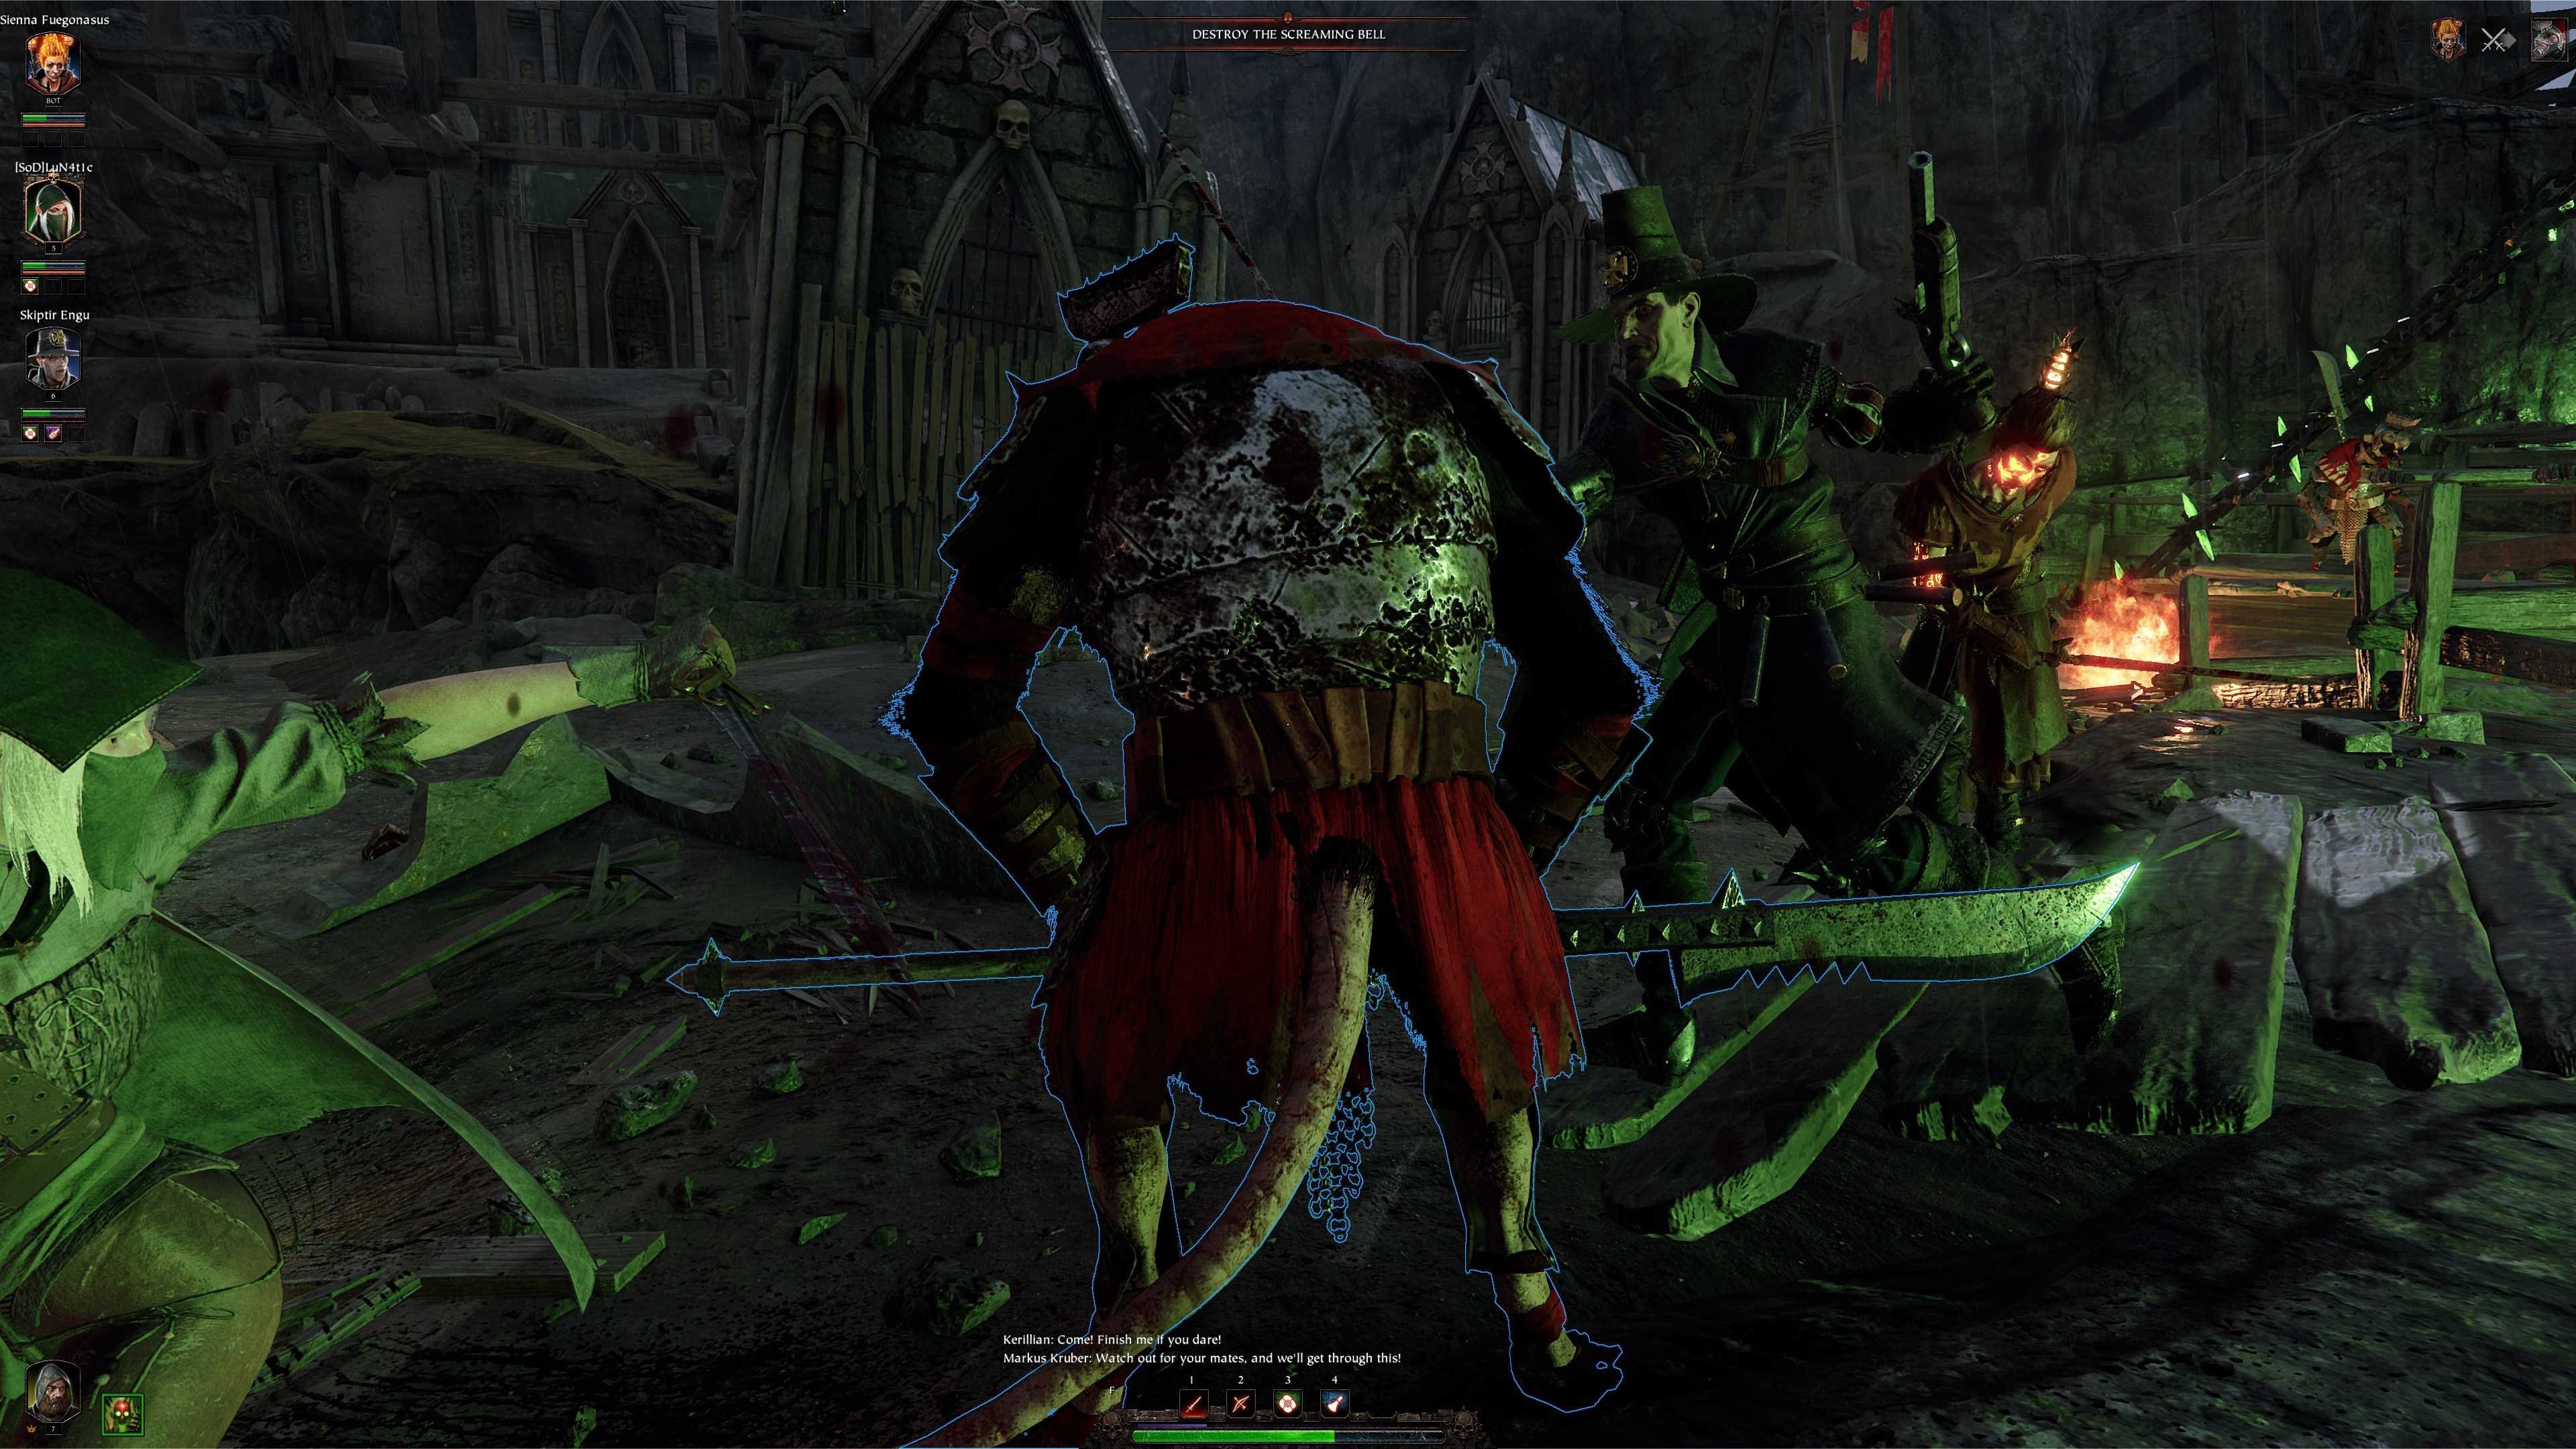
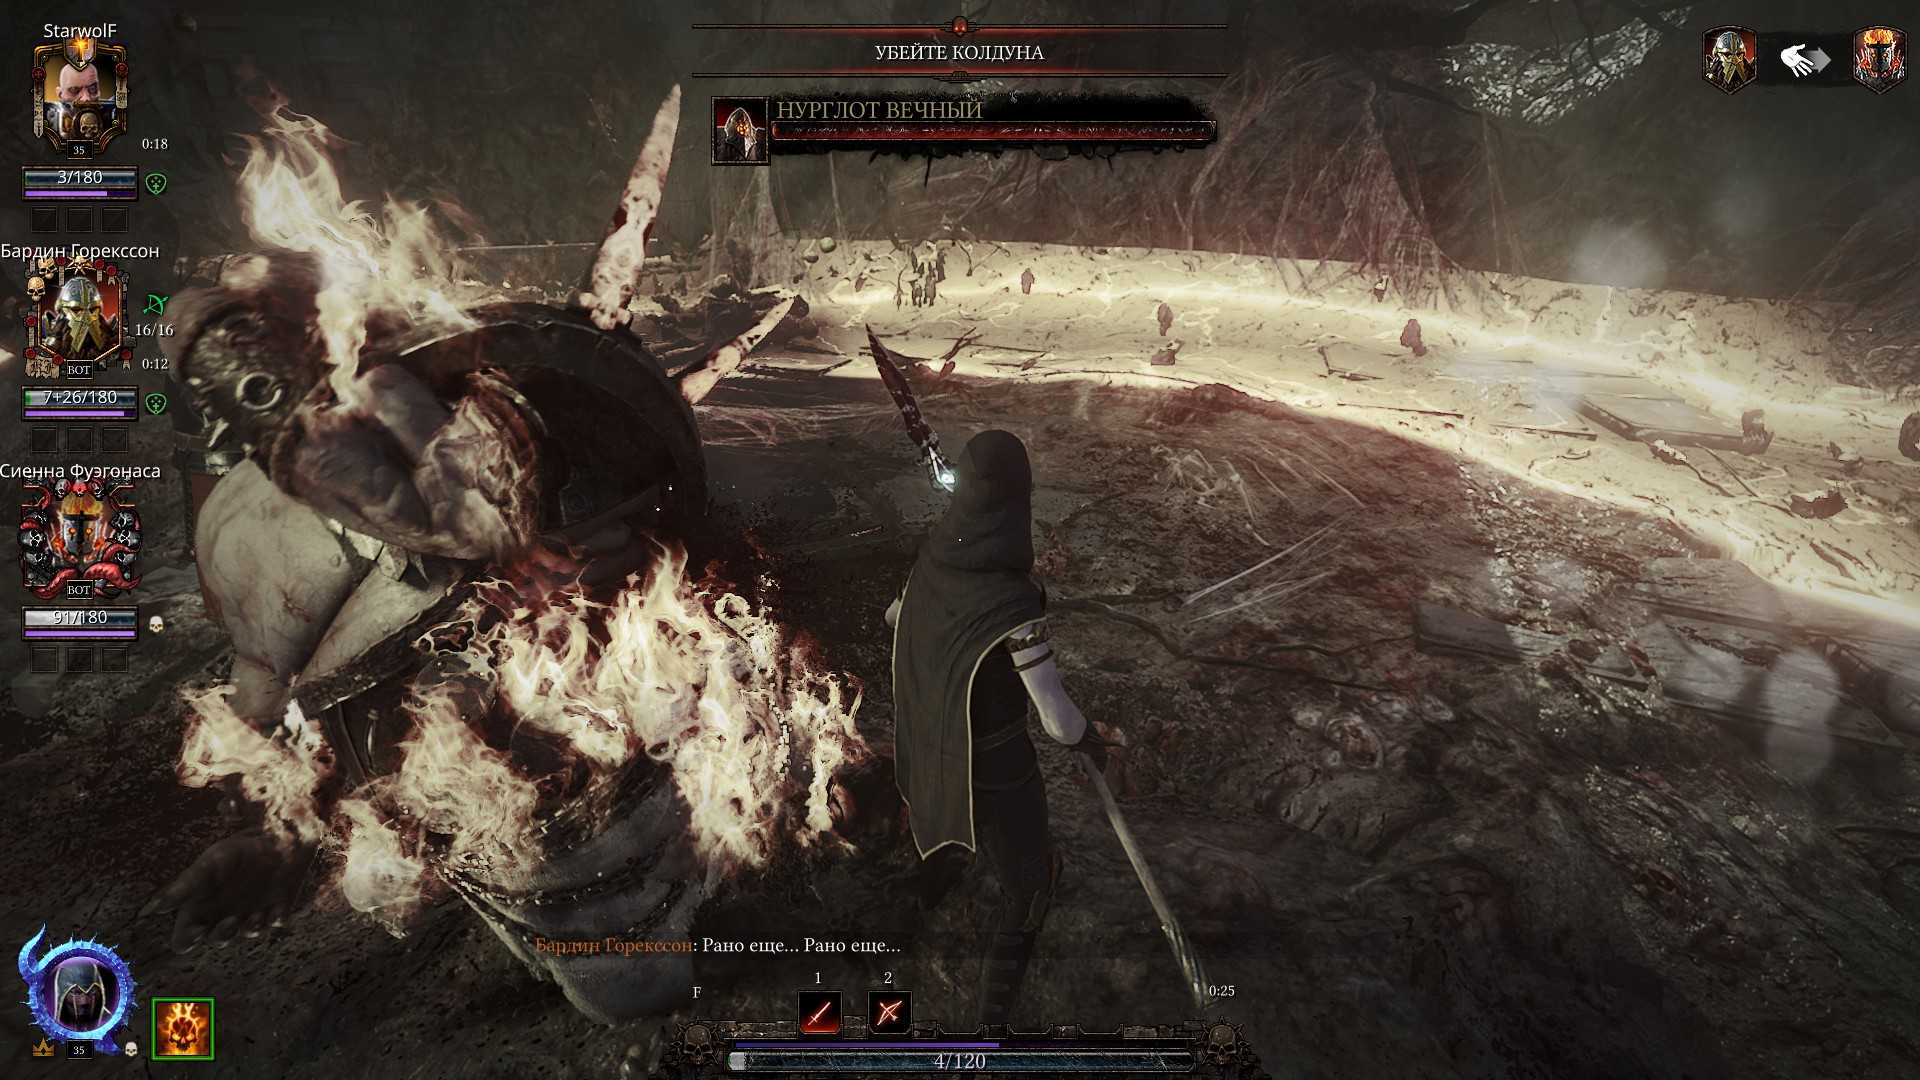
Lords are unique, named bosses which are tied to the overarching story of the game. There is one Lord per act, each appearing within the final sequence of their respective map. The Skittergate also contains two unique bosses that are not technically considered Lords in respect to challenges yet they possess traits shared with the four lords.
- Burblespue Halescourge during Act I, Halescourge
- Skarrik Spinemanglr during Act II, Into the Nest
- Bödvarr Ribspreader during Act III, The War Camp
- Gatekeeper Naglfahr, Deathrattler, and Rasknitt during Act IV, The Skittergate
- Nurgloth the Eternal in the final mission of The Curse of Drachenfels, The Enchanter’s Lair
Чертежи Бардина Горекссона
Оружие ближнего боя:
Двуручный молот – доступен с 1 уровня героя.
Тяжёлый топор – становится доступен на 2 уровне героя.
Молот и щит – становятся доступны на 6 уровне героя.
Топор – становится доступен на 8 уровне героя.
Молот – становится доступен на 8 уровне героя.
Военная пика – становится доступна на 9 уровне героя.
Топор и щит – становятся доступны на 11 уровне героя.
Парные топоры (мститель) – становятся доступны на 12 уровне героя.
Оружие дальнего боя:
Арбалет – доступен с 1 уровня героя.
«Задира» – становится доступен на 4 уровне героя.
Пистоль – становится доступна на 6 уровне героя.
Дракогненные пистолеты (железнолом) — становятся доступны на 7 уровне героя.
Дракопушка (железнолом) – становится доступна на 11 уровне героя.
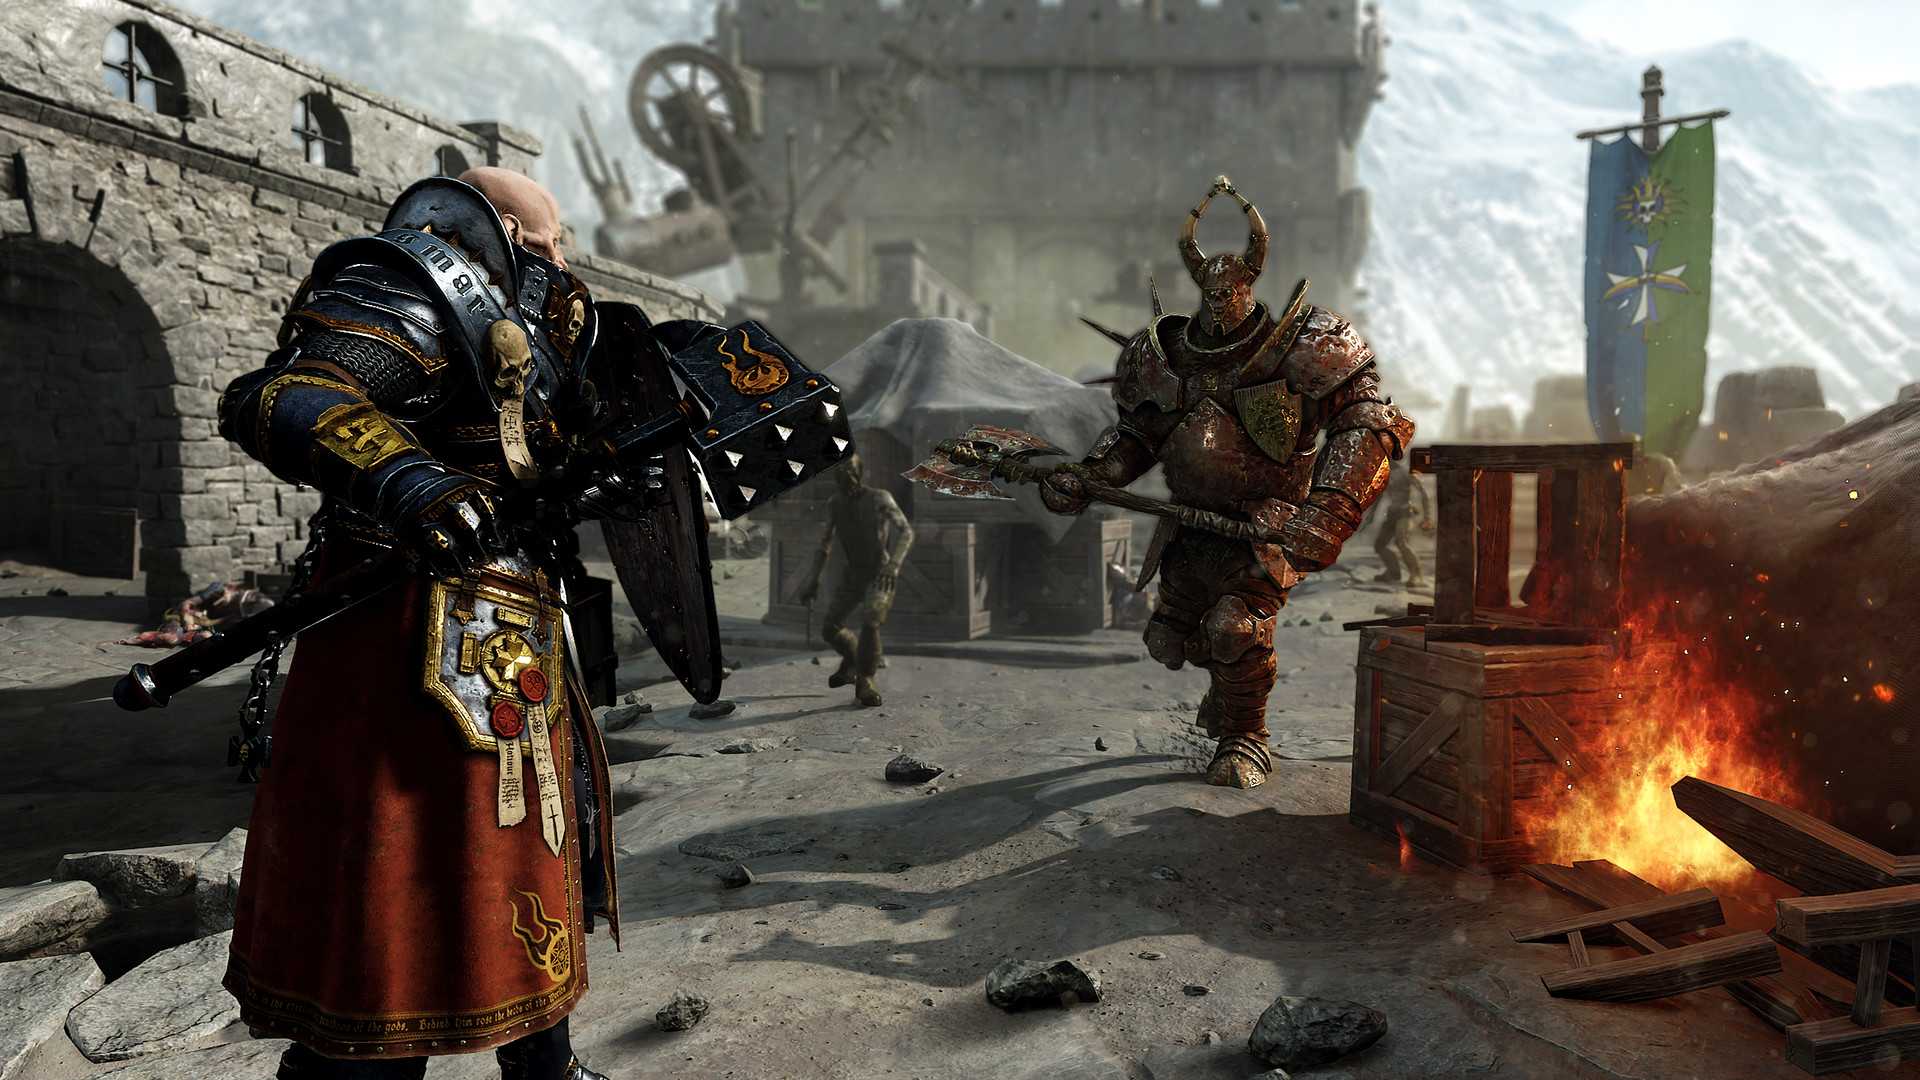
Геймплей, или Чем нам предстоит заниматься в этой игре
Как уже говорилось, основная суть игры – уничтожать толпы монстров, и разработчики сделали все, чтобы мы получили от этого максимум удовольствия! Графика, физика, движок, дизайн монстров и уровней – все как бы говорит нам: «да, чувак, сейчас будет мясо!». И, что характерно, нас не обманывают!
Игровой процесс представляет собой типичный, можно даже сказать, хрестоматийный кооперативный экшен. Есть группа из четырех персонажей, которым нужно добраться из одного конца карты в другой, при этом не умерев. Шансы на летальный исход прогулки повышают толпы врагов, которые расположены по всей карте (которая, надо сказать, почти линейная и особых просторов для маневра не предоставляет). Чтобы уничтожать монстров, есть оружие ближнего боя с возможностью «обычного» и «сильного» удара, оружие дальнего боя и уникальные скилы персонажей. Иногда на карте встречаются дополнительные задания или особые объекты, с которыми персонажи могут взаимодействовать. Если кто-то из персонажей умирает, через пару минут его могут воскресить выжившие соратники (здесь это называется «освободить из плена», хотя по лицам монстров и не скажешь, что они читали Женевскую конвенцию). В конце уровня все получают опыт и ящик с каким-никаким лутом.
![[топ-5] лучшие классы для игры в warhammer vermintide 2 — all games](https://wg-mods.ru/wp-content/uploads/b/9/d/b9de96f5dbc42039a3cf9b2fea83b1ce.jpeg)
Между миссиями происходит прокачка персонажей, легкий ненавязчивый крафтинг и переэкипировка. Собственно, по геймплею у нас все.
Но реализовано это просто офигенно! Скавены (именно так на самом деле и называются эти крысы) и хаоситы прорисованы во всех подробностях, мощный замах топором ощутимо отличается от обычного как визуально, так и по времени и ощущениям, а отрубленные таким ударом конечности и головы разлетаются во все стороны, забрызгивая землю и бойцов кровищей! Здесь все очень сурово и мрачно, как и полагается Вархаммеру, да еще и на пороге конца света.
Оптимизация и физика в сравнении с первой частью – просто небо и земля. FPS не проседает даже в самых жарких схватках, фризов нет, все объекты окружения столь же материальны, как противники или персонажи, и в них никто не проваливается и не застревает. Для примера: если вы захотите столкнуть кого-нибудь с узкого каменного мостика, он эффектно зацепится за край и полетит вниз, а не рухнет вертикально как мешок с картошкой.
How Much Harder Could “Veteran” Difficulty Be?
Running a mission on Veteran didn’t seem like a big deal. It’s not the highest difficulty in the game. Besides, everything was so easy on Recruit…how much harder could it be? It wasn’t long before I realized my health was dropping a lot faster than I was used to. So I went to drink my health potion and was shocked to see I didn’t have one. You don’t start with one on Veteran. I started staying in the back and shooting but I ran out of ammo. While running all around looking for health, an Assassin jumped me. Nobody else could rescue me. They all went down too.
Game over.
When you bump up the difficulty on Vermintide 2 it’s a surprisingly big jump. You have more and stronger enemies and also fewer supplies. Either one on its own would be okay but both at once makes it hard to adjust. The big shock is that Recruit mode probably taught you some bad habits.
So here’s some very basic advice for when you first bump up the difficulty.
19 Battle Wizard
The Battle Wizard is perhaps the weakest pick in the game due to the fact that the other two careers at Sienna’s disposal are much better choices. Pyromancer is brutal against single targets and Unchained is an absolute beast. Battle Wizard does have some interesting AOE spells, but the real hindrance comes from the buffs.
They only trigger while she’s not actively damaging opponents, which many argue is the point of a fighting intensive game like Vermintide 2. Battle Wizard is the default class for Sienna and remains available throughout the game. Her role is to corral enemies into manageable groups and deal damage to them all simultaneously. It’s a lot like herding cats. But, if it’s done well, it can turn the tide of battle.